Sprinter AWD Foundation Build-what does a great basic build look like for a family?
- Korey

- 4 days ago
- 9 min read
How we built a very nice family campervan on a budget
We found a 2023 low mile AWD Sprinter 144" Crew Van at a fair price from a local solar business for sale that had a great service history and was in decent condition. These are very difficult to find at a fair prices. Only 2023 and newer Sprinters with a 4cyl HO engine can use B20 Biodiesel. This is very important living in California because almost all of the diesel gas stations only carry this fuel now and the older Sprinters cannot use this on a regular basis. The 2023+ Sprinters can use both B20 biodiesel and regular low sulfur diesel so they are "future proof" for fuel.
The van was in excellent mechanical shape and had regular service, but was used as a work truck for this solar company so it needed a bit refurbishing on the cosmetic end, it was a work truck, its a big reason we got a fair price on it. We had some dents taken out (door dents, no painting), refurbished/replaced some scratched interior panels, and got it back close to like new shape w looking really nice inside and out. The outside paint itself was in excellent condition and just needed some clay/ceramic/buffing. A bit of work and $ but the savings was considerable compared to new...tens of thousands of dollars which enables this van to get in a very specific price point...under $100k. Try finding a used crew that is 2023+ like this for cheap that is not thrashed, has low miles, and still under factory warranty...nearly impossible.
This build is ~ $41,000 with a new fridge not including refurbishing/replacing some interior panels and exterior cosmetic work to get it like new. This cost included some must haves and a lot of wants...we will walk you through the build item list. Focusing on must haves you can shave off almost 10k on the build cost.
Van Completed

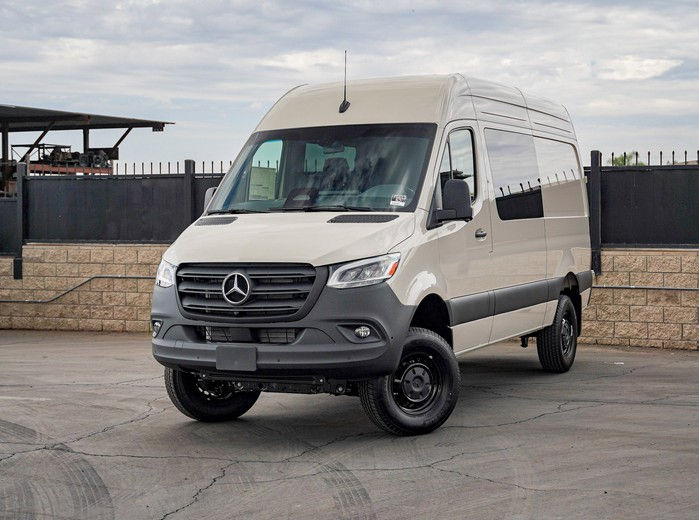
Before we started any of the build process. Getting Smog done ...staring with 2023 AWD Crew van with OEM stock alloy wheels with only 17,000 Miles! Factory warranty good till 2026! We started with this 2023 AWD Crew HR 144" van.

First things first after we recondition the outside taking a few small dents out and we strip down the entire interior taking all of the panels, headliner, and eventually floor out. The van was taken care of very well, but we want to get it as close to like new as possible so we will be doing a significant detailing getting it back to as close as new as possible. Little details like this insure this van will be in tip top shape. Van is gutted to begin the build.

Then we add some rear vented windows, to keep costs down we did only the rear quarters since the fan is in the front. Goal is to keep this van below the $100k price point, things ad up very quickly in a build. Ventilation-must have

Tires and paint the wheels. To save money we just painted them by hand, this makes it easy to touch up in the future and really helps transform the van itself. The van has OEM alloy wheels why change them? They look great and this saves thousands.
New Falken Wild Peak Tires INCLUDING spare, great tire, very good mileage wear as well and quiet. This really improves off road and snow traction, but a want not a must have.

Painted the wheels, some wheel paint really made the wheels look much better

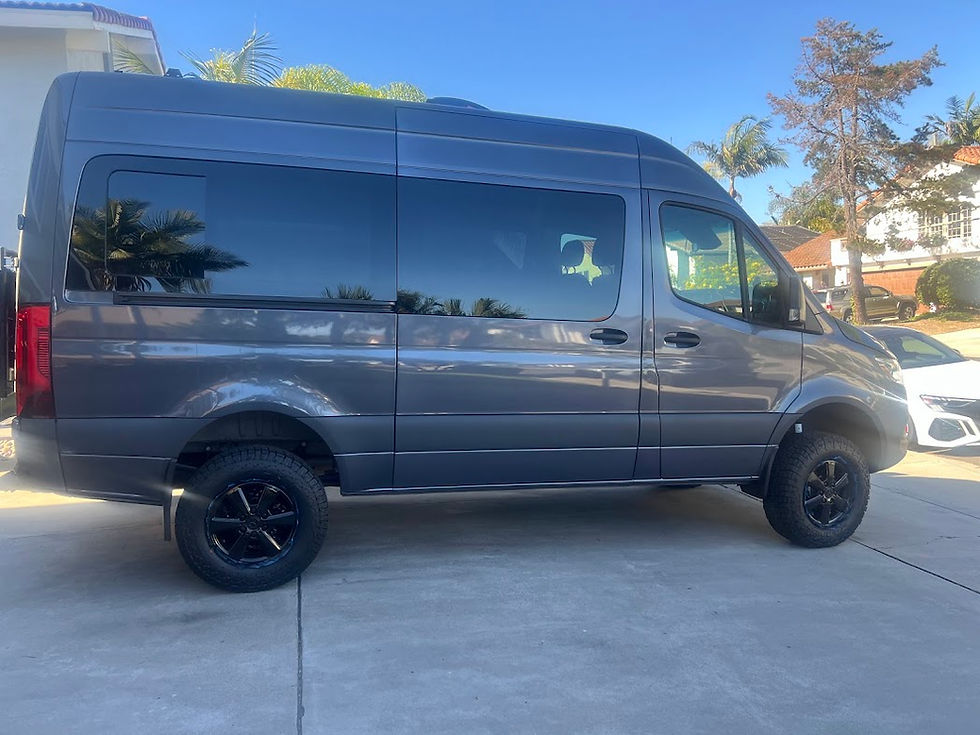
Already making the van look a million times better after many hours of reconditioning. No painting was needed, just some simple minor dent repair and paint reconditioning to get it like new. Will be adding some Aluminess Touring steps soon to make it very easy to get in, they are BO for the moment. It now looks and feels like new again. Steps-a want not a must have
Installed a Max Air fan with remote and 200w of solar on the factory rails as well. We do this before beginning the interior and this needs to be done when the headliner is out. Must have

We also added the aux power system that will be charged by the alternator and the solar system to be able to run the removable fridge, fan, and even a heater (if added in later) all the time. DC Outlets throughout the van allow phone, laptops, and simple electronics to be charged as well. Must Have.

We have DC usb/usbc and 12v cigarette lighter outlets throughout the van. Must Have.

LETS MAKE IT QUIET, I HATE A LOUD VAN
We won't go into great detail, but when the van is apart we begin insulation and sound deadening. We have an entire blog on this. We used only top materials, Dynamat Extreme that has NO TAR in it like most do and 3M Thinsulate. We not only do the walls, but we do the doors as well. We begin all the interior wiring as well during this stage. In this photo you see beginning of this stage, take notice how much material we use...not just a few patches. This really makes a huge difference! In this photos the window had not been cut in yet. Must have.

Rear doors Completed

Front doors before; just showing detail of what we do that makes our vans so quiet, This is example of another build...we did the same thing in this build.
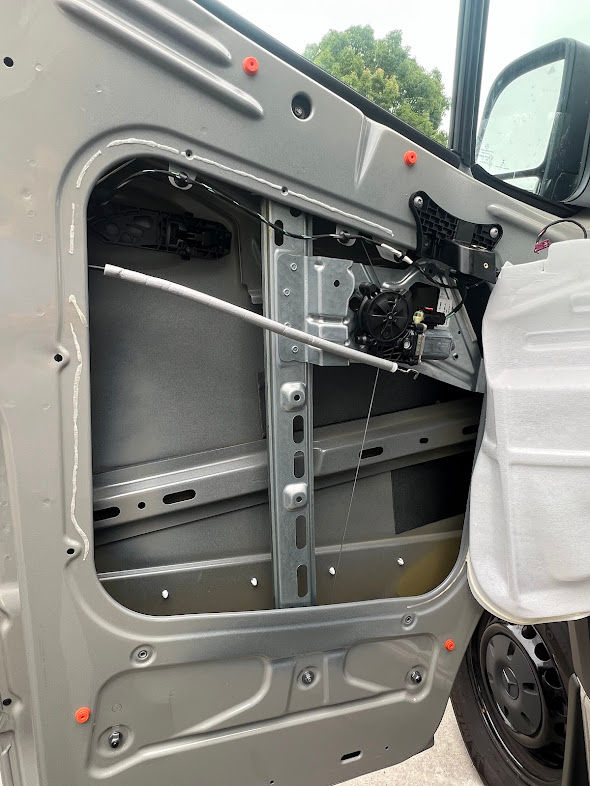
We use more material in one door than most do in two...it makes a very big difference! Dynamat the doors and insulate them as well , before panel goes back. This is a step many skip in their builds or do only half of what we do.

front door inner panel insulation, we also upgradedd teh speakers at this time as well

When we had the door panels off, upgraded the front speakers with an adapter kit from DIY van...stock vs aftermarket. We put "DS" Kicker 6 1/2 inch. in this van as they sound a bit better with stock radio vs CS thats shown, but you can see the difference in size and quality its signficant. We also will wire in rear speakers as well. This helps with the sound, adding an amplifier and sub makes a very big difference. The stock head unit power is pretty bad, so you only get about a 25% improvement over stock even when adding rear speakers. Want, not a must have.
Size comparison vs stock. Stock on left/upgrade size on right

Adding rear speakers is a bit of work, you have to take dash apart, get special pins so you can add rear lines, take the harness out and then run the wires directly to the outputs and run wires to rear doors. All factory correct when done, however you will need to take the van to a dealer if you want to add rear fader control. This is how you correctly do this, no splicing any wires in...that is a sloppy shortcut that doesn't allow you to add an amplifier later correctly. Want, not a must have, but should be done during the build if want to add later.

rear speakers on door. In this van we used Kicker 6 1/2 DC dual coaxial speakers both front and back


Moving way forward, We are installing a Roost Vans lower wall brace kit for the bed as well as in the front so you can mount not only bed but other items. Also with this wall kit you have to make new panels as the front stock in this van will not work and the panels had been beaten up a bit from transporting work materials. Must Have.

Magic of the internet and many hours later, the upholstered panels and the magic of moving forward with a bunch of wiring. LED lights are now installed, wiring is done, and the fan trim ring is installed. The L track is also installed for the cabinets. This was a lot of work to this point. Must have.

You can see here the solar controller is installed as well as the DC outlets (12v) in the walls are done. These are to run fridges and things like a bike pump or other 12v low power accesories. We have yet to tackle the floor that will be in the next step. Must Have.
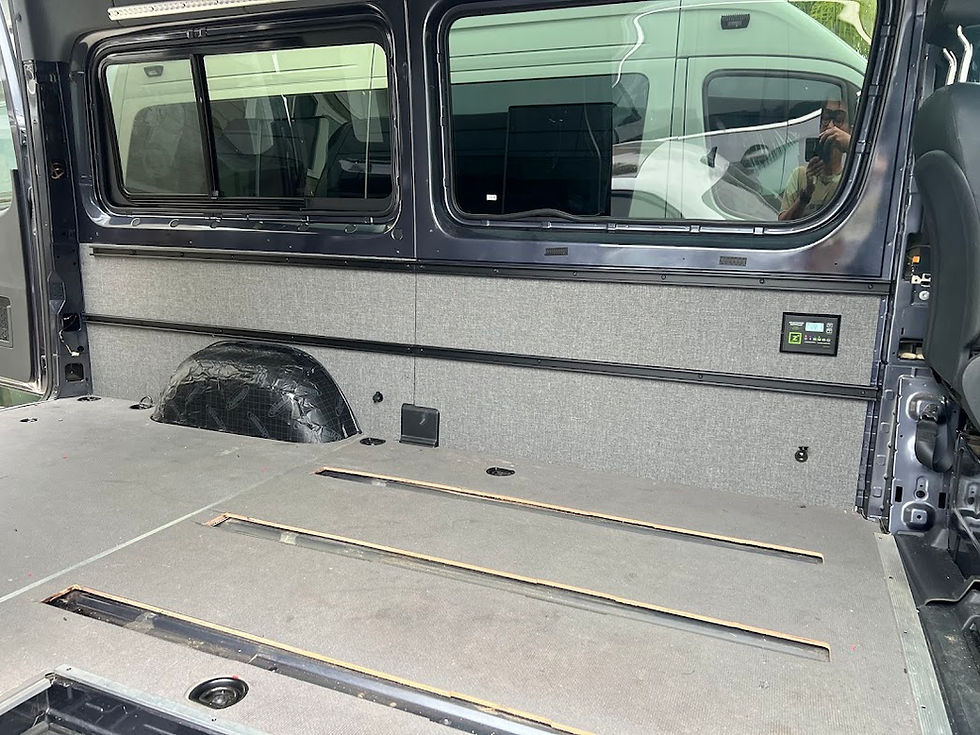
L track for cabinets and LED lighting. The L track is a bit of work to install, you can't just put it in, you need a support structure to hold it
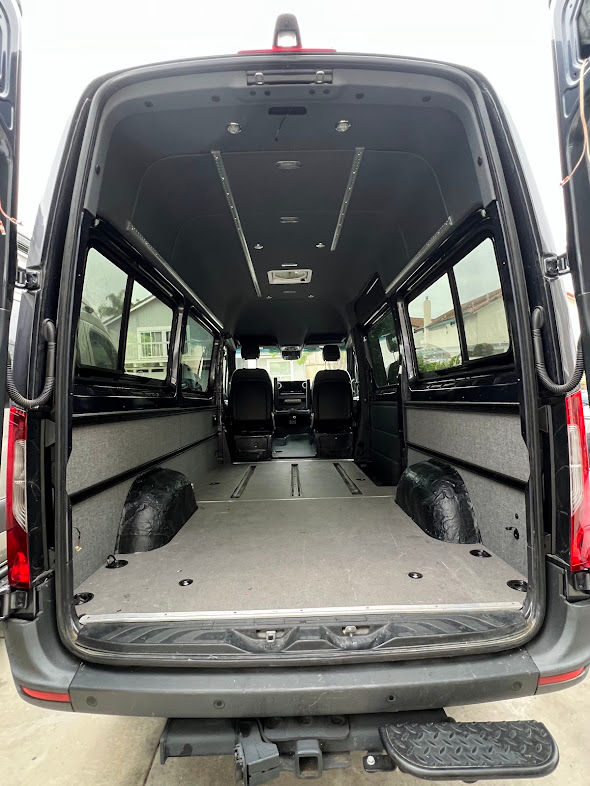
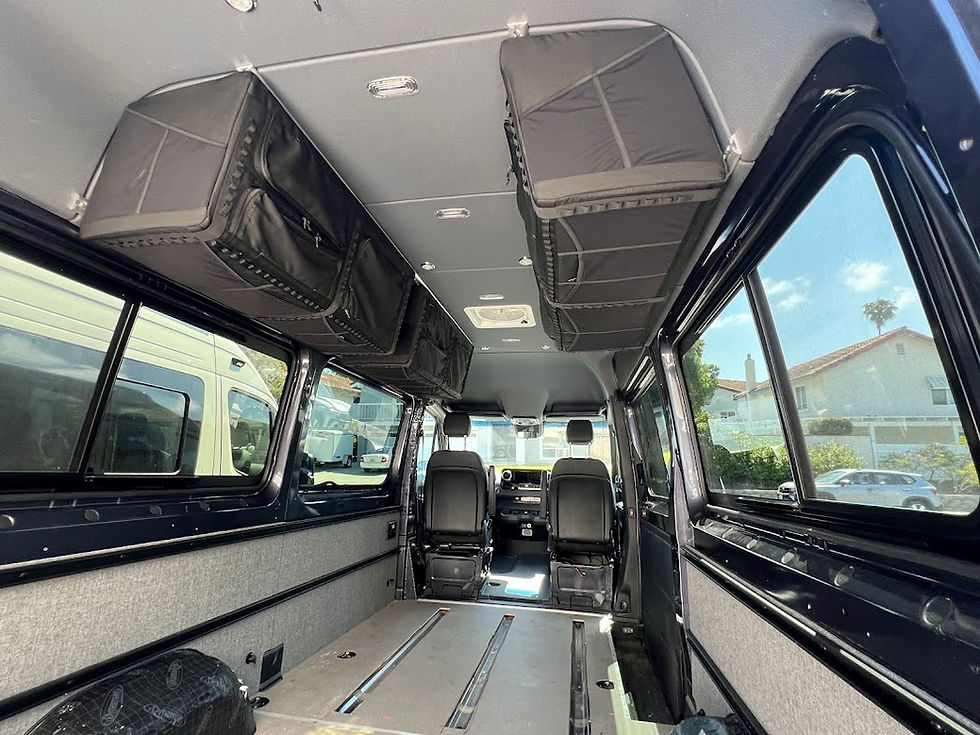
Van Essentials semi rigid REMOVABLE cabinets. These have an insane amount of storage and if you bump into them they unlike a solid cabinet don't hurt your head

You never have enough storage no matter what right?
Floor insulation
In this van going to do a "basic" floor insulation, this makes a pretty good difference as well. Here is the front...Dynamat layer, see its everywhere. Want, not a must have.


Now we layer with closed cell foam from Soundskin

An here you see it layed down, even over the battery hatch on the drivers side

To keep costs WAY down we will use cork insulation for rear of van on floor and not drop Dynamat and foam. This saves almost $700 in materials and still provides decent insulation and sound absorbtion. This is our level 1 floor package; the front done like above and rear like this. It also allows if you upgrade to a Smart floor...easy install, you don't have to remove Dynamat...that is super difficult. Want, not a must have.

Two layers.

Interwoven Compass Luna Metro flooring now cut and ready for install. Special glue is used and careful cutting of the material is needed. The floor material alone is around $900 for this floor.

Installed

trimming and hardware now installed with extended dual seat rails. (for two rows of seats)

Floor modified and longer rails installed so two bench seats can be put inside of the van to fit up to 8 people, even with the bed with one panel flipped up! Want, not a must have.

Roost Vans Flip Up bed...rear and front panels flip up to make a couch or give you better access to get to gear. They are height adjustable up to 36" (clear a mt bike) and are removable by loosening 4 bolts on each panel. Super nice beds. A custom mattress is also in the van specifically designed to use with the flip up panels! Bed is a must have.
Large queen size bed

Flip up couch rear facing

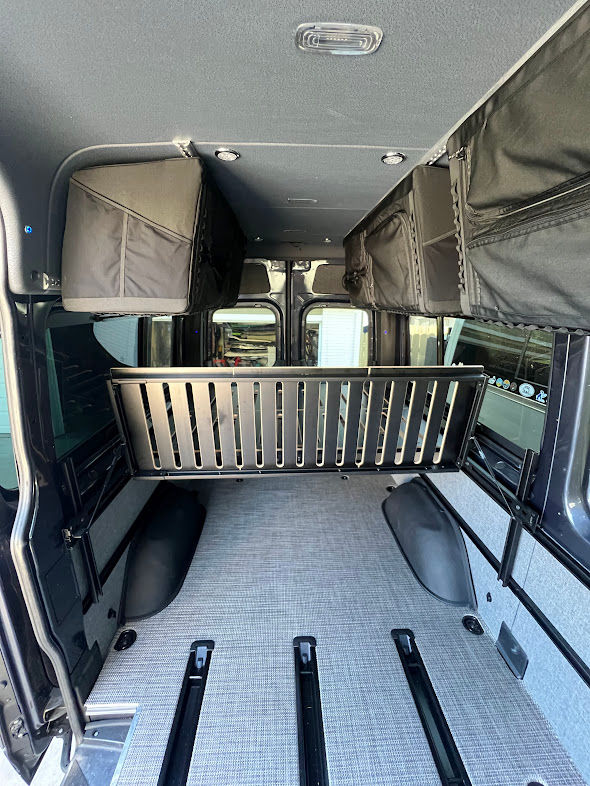
Flip up couch forward facing


Support structure of bed. These are very time consuming to install especially with panels to put in. Lots of pieces, trimming,...its simple however.


Lagun table and extended tracks with swivel seats- makes a perfect dining area w/o moving any gear. Must have, but can easily be done later or DIY.


Huge amount of storage under the bed...and a very comfy custom mattress specifically made for the Roost Flip Up bed.


Aluminess Touring Steps Dog and kid friendly are now on the van! Want not a must have.


Video Overview (Touring Steps are not added in this video, but are now on the van)
Another version of same van...starting with a crew but with a different bed option; Adwag MOAB Bed and showing how two rows of seats can be added
Build Cost Breakdown, not including refurbish costs, van and parts only. Van is priced very reasonable, especially considering its a pro-build with a full warranty. We have not found a van like this under warranty, this miles, 2023+ (biofuel approved), AWD, Seats 5+, sleeps 4...anywhere near this price range.
How to cut the build cost down FROM $41K to under 30k?
Items that can be added on fairly easily in future. We noted items that are fairly easy diyable if you are comfortable with tools and require taking van apart minimally in some cases.
Tracks $1300 (diyable but a bit tricky, special tools needed)
Swivels $1100 (very diyable)
Table $850 (diyable)
Floor $1300 (diyable)
Floor Insulation $850 (diyable)
Rear Speakers $600 (ideally van should be apart)
Tires $1600 (diyable)
Fender Mod $600 (diyable if you are comfortable cutting van, only needed for larger tires)
Water $2200 (this is a bit complicated, but diyable)
4 panels lower $2000 (use stock panels if they are ok)
Aluminess Step $2200 (diyable)
Fridge $1000 (no labor req)

WHAT COULD YOU ADD ON IN THE FUTURE? We have thought about it and prepared the van to easily modify.
Other mods easily done in future - we offer a modular self contained sink as well as a diesel heater can be added. We set the van up for these mods and more as needs might expand. The van includes a new removable chest fridge freezer.

The van is set up to easily add a heater under the passenger van...and even an amplifier to greatly improve sound in the future!


.png)


Comments